
In This Article
This post may contain affiliate links, please see our privacy policy for details.
So you're stuck at home and your nails are looking a little bit...well, let's just say they could use some attention. Never fear! You can give yourself a professional-looking manicure right in the comfort of your own home. All you need are a few simple supplies and a little bit of know-how. Keep reading for our tips on how to get a salon-worthy manicure at home.
Supplies You'll Need
Before you get started, make sure you have everything you need within arm's reach. You'll need:
• Nail polish remover and cotton balls or pads (for taking off any old polish)
• A bowl of warm water (for soaking your nails)
• A nail brush (for scrubbing your nails clean)
• A hand towel (for drying your nails after the soak)
• Cuticle cream or oil (to moisturize your cuticles)
• A cuticle pusher or orange stick (for gently pushing back your cuticles)
• Nail file and buffer (for shaping and smoothing your nails)
• Base coat, color polish, and topcoat (for painting your nails)
Step 1: Remove Old Polish and Prep Your Nails
If you're starting with bare nails, skip this step. If you have any old polish on your nails, begin by removing it with nail polish remover and cotton balls or pads. Once your nails are free of color, it's time to prep them for the rest of the manicure steps.
 Justyna Sokalski
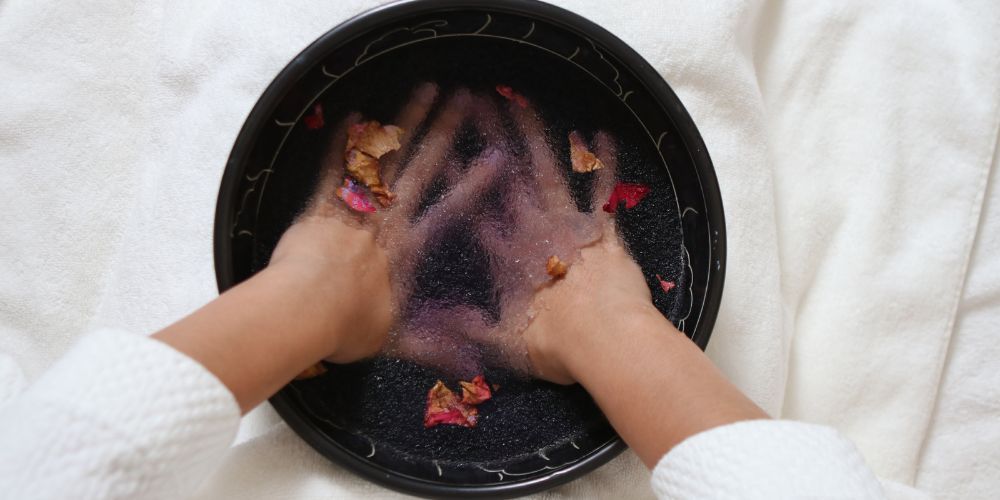
Step 2: Soak Your Nails
Fill a bowl with warm water and add a drop or two of hand soap. Mix it around until the water is sudsy, then soak your nails in the mixture for 3-5 minutes. This will help soften your cuticles and make them easier to work with.
Step 3: Scrub Your Nails
While your nails are still wet, use a nail brush to scrub them clean. This will remove any leftover dirt or debris and help ensure that your manicure lasts as long as possible.
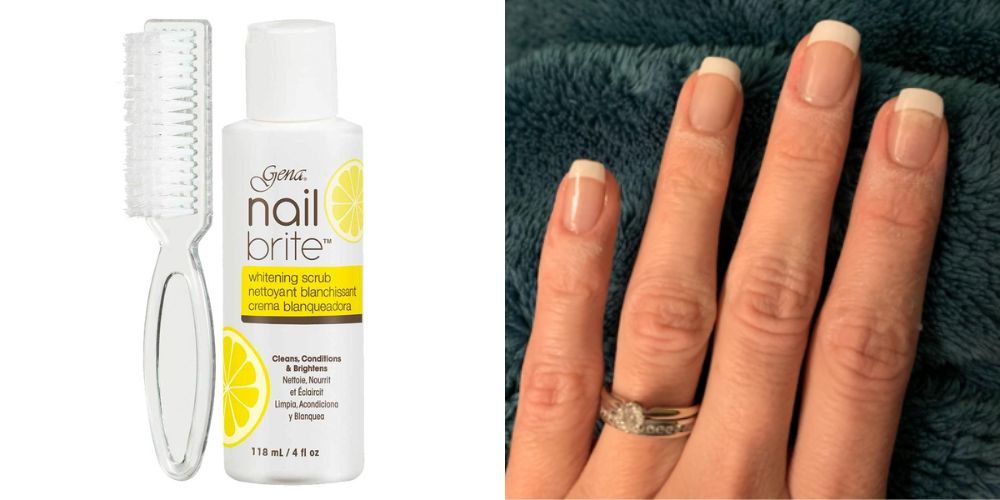
Gena Nail Brite Whitening Scrub with Brush is my go-to product for scrubbing my nails. Not only does it clean them, but it also conditions them and brightens them up. The brush is the perfect size for getting into all the nooks and crannies, and the scrubbing action is gentle yet effective. Plus, it leaves my nails looking and feeling great. I highly recommend this Scrub with Brush to anyone who wants to keep their nails looking their best.
Step 4: Dry Your Nails
Use a hand towel to pat your nails dry after the soak. Be sure to dry them thoroughly; if they're even slightly damp, they won't absorb the cuticle cream as well.
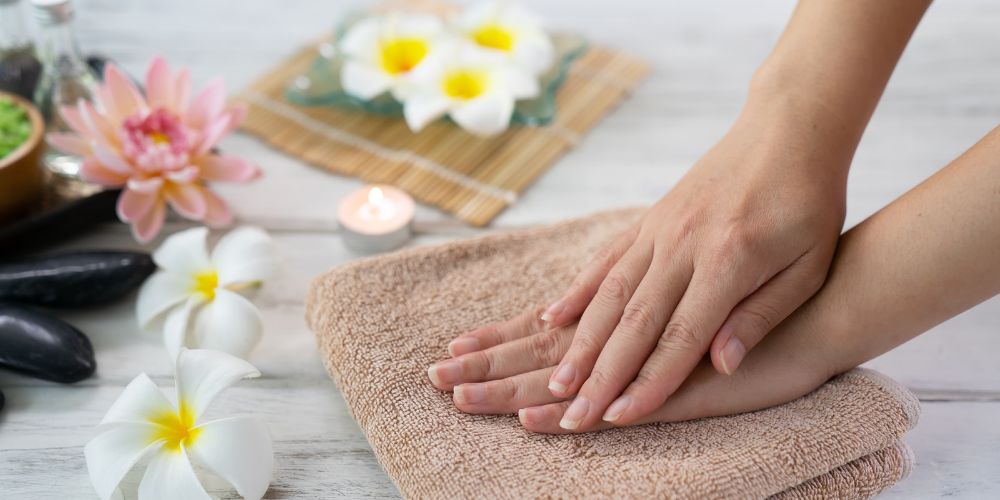
Step 5: Moisturize Your Cuticles
Next, apply some cuticle cream or oil to your cuticles and massage it in gently. This will keep them from drying out during the rest of the manicure process.
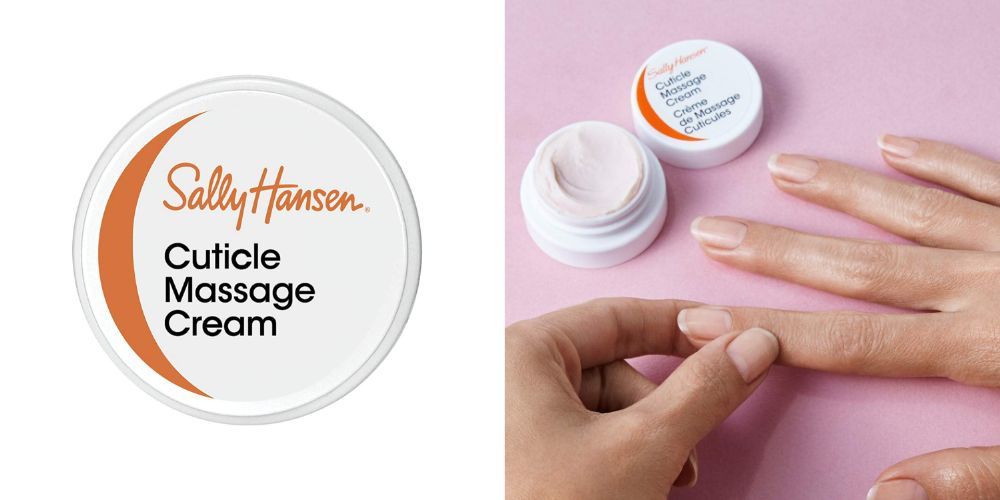
I'm not a big fan of getting my nails done at a salon. I don't like the small talk, the smell of chemicals, or the way my skin feels afterward. That's why I love Sally Hansen Cuticle Massage Cream. It's like having a spa treatment in the comfort of your own home! The emollient formula with apricot oil absorbs quickly, and the cuticle cream instantly soothes the cuticles. I like to use it before bed so that my cuticles are nice and moisturized when I wake up in the morning. It's also great for giving yourself a little hand massage. The next time you're feeling stressed, try massaging this cream into your cuticles. You'll be surprised how much better you feel!
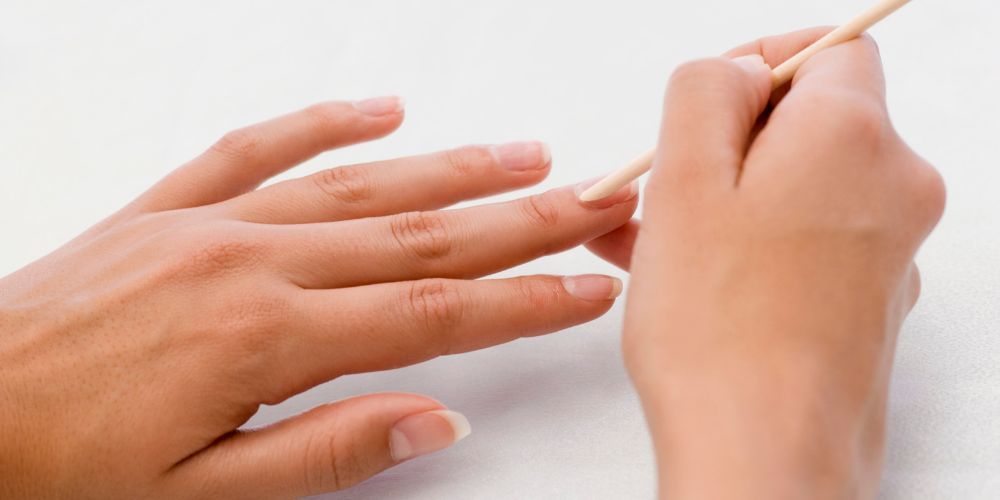
Step 6: Push Back Your Cuticles
Once the cream has had a chance to sink in, use a cuticle pusher or orange stick to gently push back your cuticles. Don't go too far; you just want to create a neat border between your nail and cuticle without overdoing it.
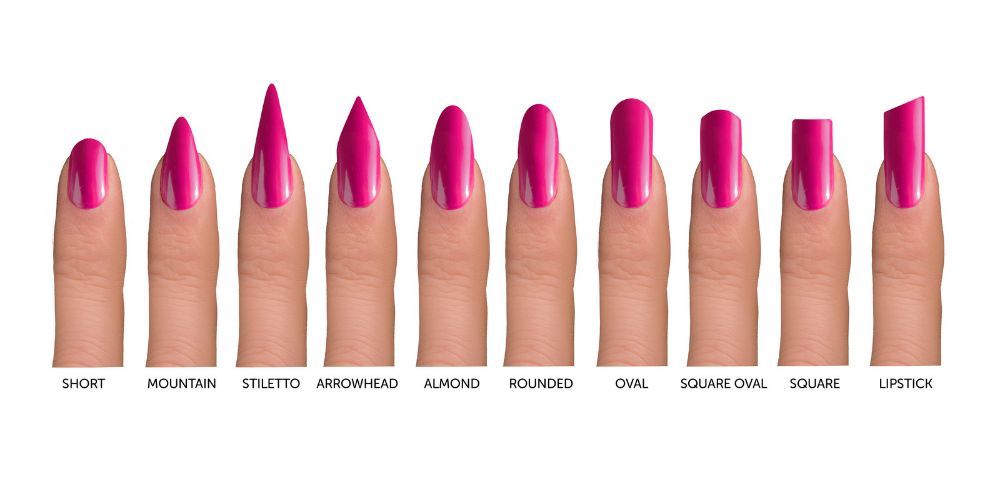
Step 7: Shape Your Nails
Now it's time to give your nails a good shape with a nail file and buffer. Choosing the right shape for your nails can be tough. After all, there are so many factors to consider! Do you want your nails to look long and elegant, or short and practical? Round or square? The options are endless! Luckily, we've put together a handy chart to help you make the best decision for your nails. Just take a look at the different shapes below and choose the one that's right for you. If you're not sure what shape you want, oval is always a classic option that looks good on everyone. Once you've shaped your nails, use the buffer to smooth out any rough edges. So go ahead and experiment until you find the perfect nail shape for you!
Step 8: Apply Base Coat
To help your manicure last longer and prevent staining, apply a base coat before painting on color polish. Allow the base coat to dry completely before moving on to step 9.
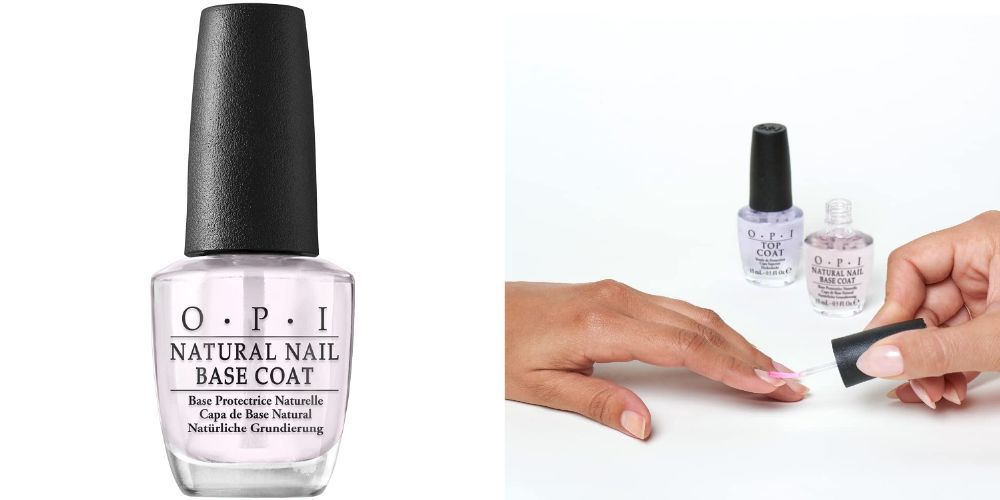
OPI Nail Polish is one of my favorite cosmetic products. I like the fact that it is a brand that offers a wide array of colors and shades to choose from. When it comes to base coats, I prefer the OPI Natural Nail Base Coat. I find that it provides a great foundation for the polish and helps to extend the wear of my nail polish. It also prevents nail discoloration from the color application. The base coat gives my nails a nice, natural look that I really enjoy.
Step 9: Paint On Color Polish
Now comes the fun part! Choose one or two colors (depending on how many colors you want per nail) and paint them on in thin coats, allowing each coat to dry completely before applying the next one until you've achieved desired opacity. Tip: When painting around the edges of your nails near the cuticle line, be sure to go slowly and use steady pressure to prevent accidentally smudging paint onto the skin
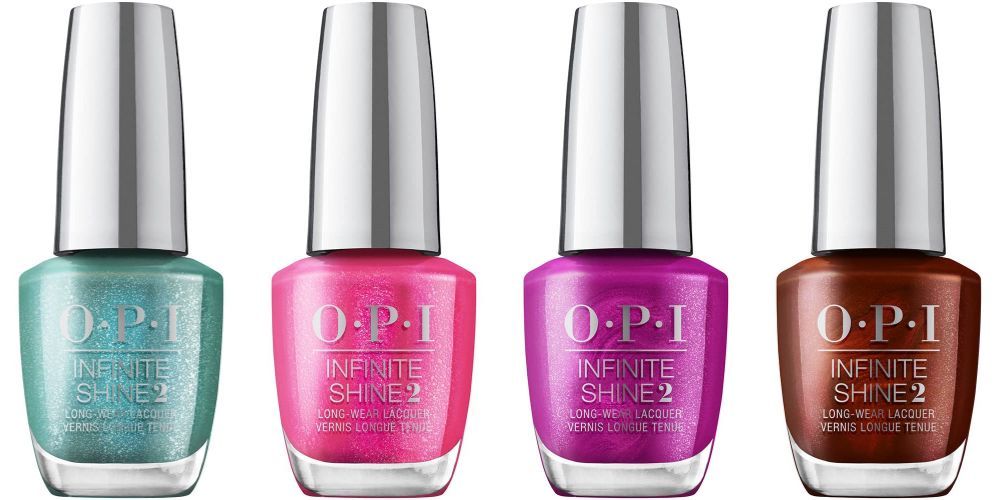
I'm a sucker for a good manicure. I love the way my nails look when they're freshly painted and glossy. But I'm also a busy person, so I don't always have time to go to the salon. That's why I love OPI Infinite Shine 2. It's like a gel manicure in a bottle-and it comes in the most beautiful shades. My personal favorite is "Charmed, I'm Sure." It's a pretty pink that looks great with any outfit. Plus, it lasts up to 11 days without chipping or fading. So whether I'm running errands or going on a date, my nails always look fabulous. Thanks, OPI!
Step 10: Apply Top Coat
For an extra glossy finish and added protection against chipping, apply a clear topcoat over color polish once the paint is completely dry.

Pro Tip: If you find that glitter polishes are difficult to paint on evenly, try dabbing on individual glitters with a glossy topcoat already applied.
And that's it!
You've successfully completed an at-home mani all by yourself like a pro! Sit back, relax, and enjoy showing off those beautiful new nails of yours!
Final Thoughts
Now that you know how easy it is to give yourself a manicure at home whenever the mood strikes(and without having to worry about spending money at the salon), we hope you'll feel inspired to get creative the next time you decide to paint your own nails!
Other Posts You May Like:
Justyna Sokalski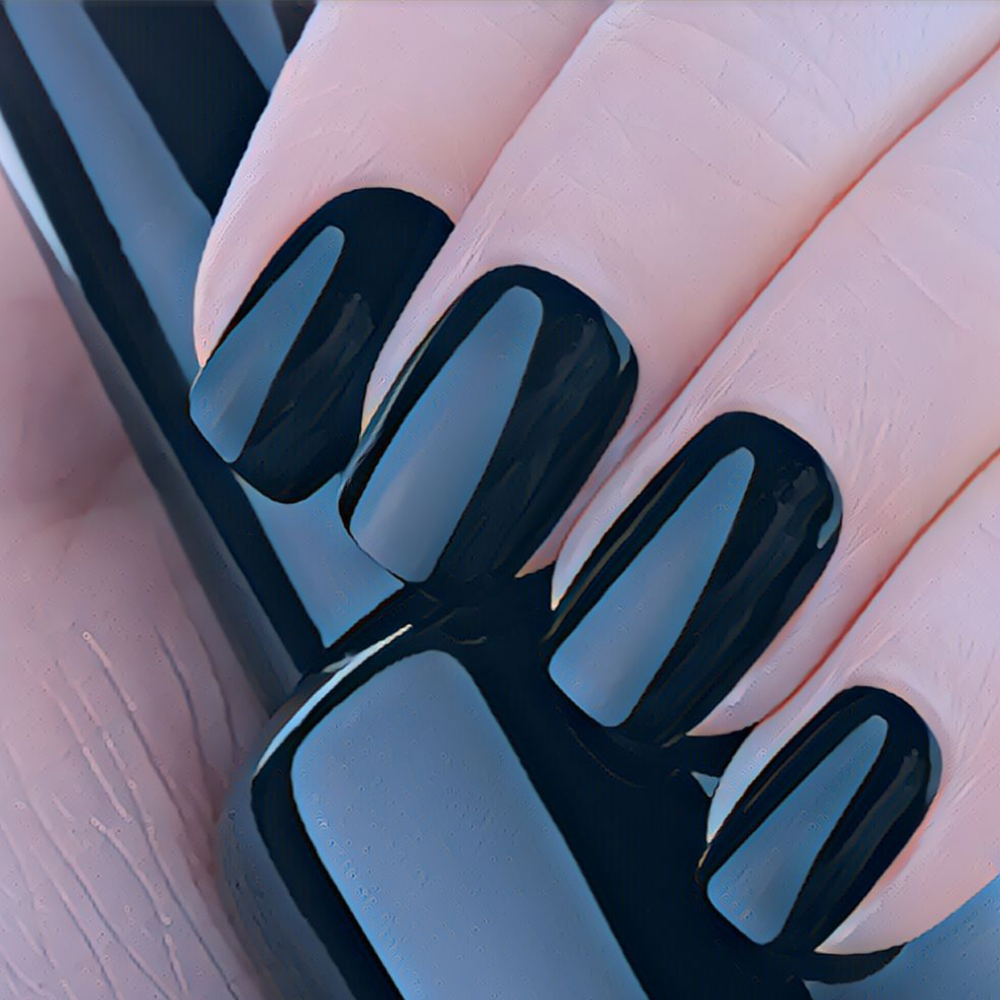


