

In This Article
This post may contain affiliate links, please see our privacy policy for details.
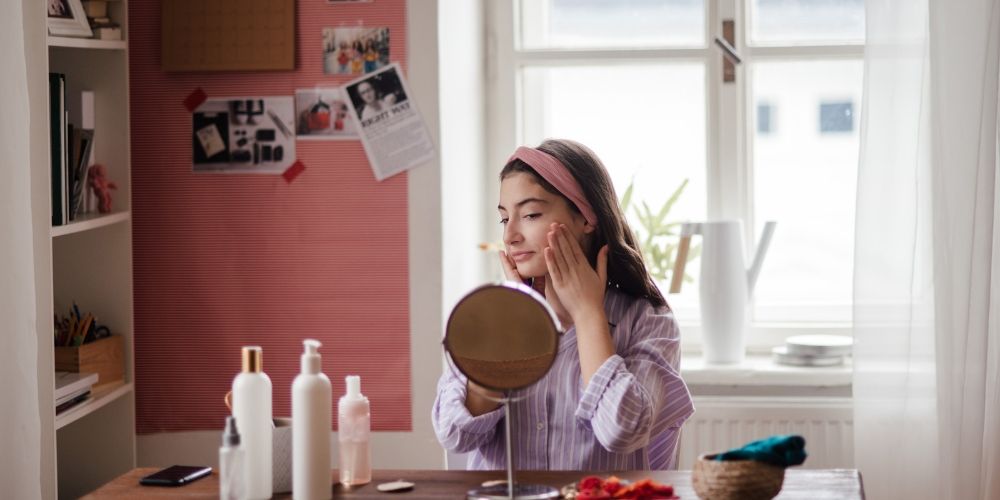
Have you ever found yourself up close and personal with a magnifying mirror, investigating every detail of your skin, and felt a rush of anxiety as you discovered clogged pores or dreaded blackheads?
If your answer is a resounding "Yes!", you are not alone. Many of us have shared this intimate and sometimes disconcerting encounter with our own skin. But don't worry, we are here to turn that apprehension into a fun, educational, and skin-loving journey!
Welcome to our skincare-centric series, where our mission is not only to provide you with useful information but also to entertain you along the way. Today, we're focusing on a must-have in your skincare routine: pore strips.
But we're not talking about the store-bought kind - we're delving into the world of DIY skincare. We'll share some simple yet effective recipes to make your own pore strips at home. Let's get creative with our skincare!
CONTENT SUMMARY
What Are Pore Strips?
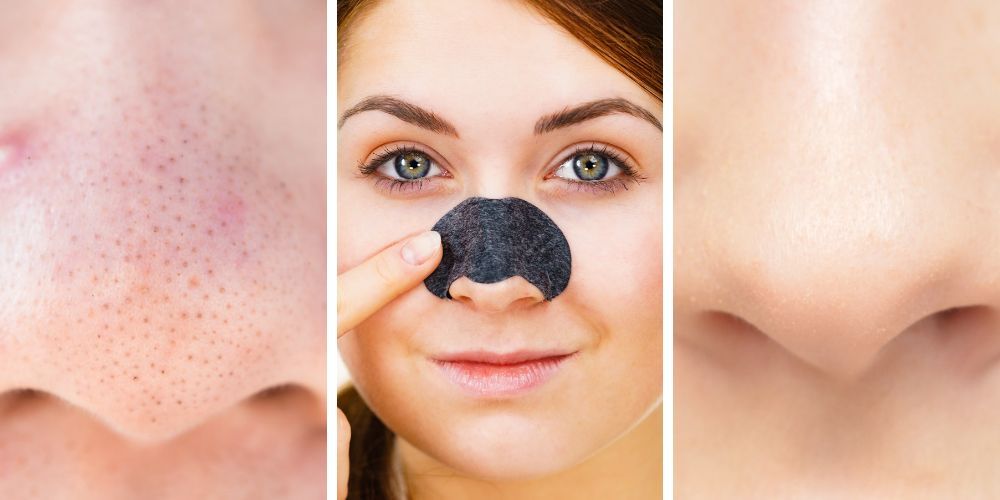
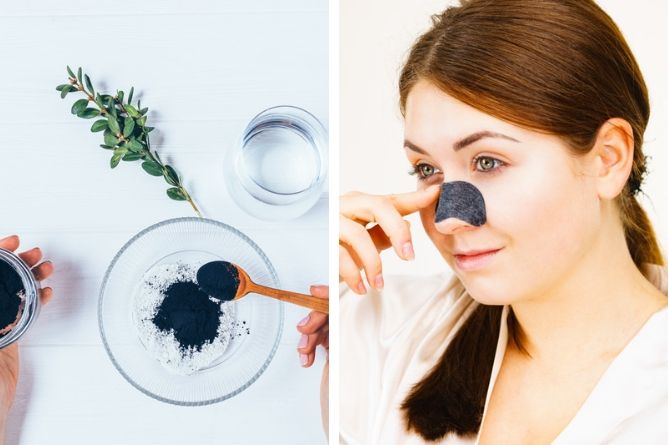
Pore strips are a popular skin-care product designed to remove dirt and oil from your pores, and by doing so, help alleviate issues such as blackheads and acne. They are most commonly used on the nose, but can also be applied to other areas of the face where clogged pores are a concern.
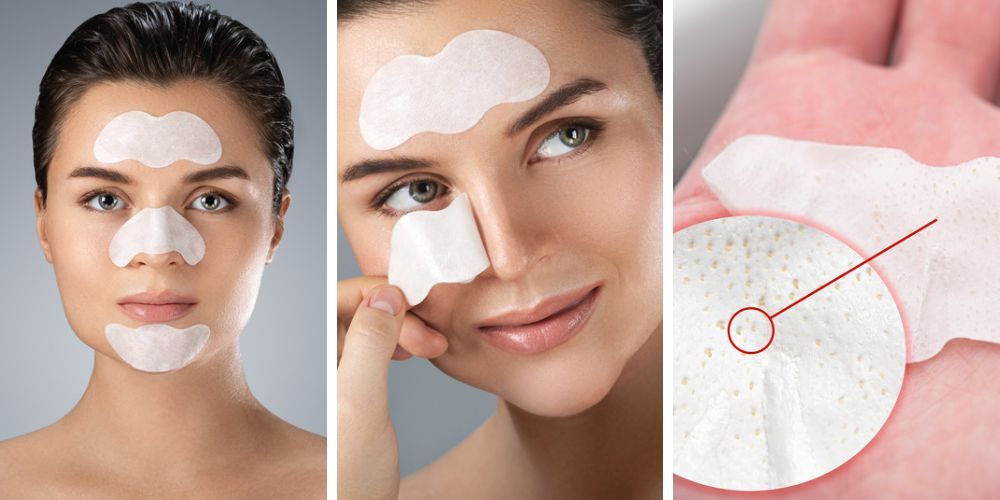
Pore strips typically come in the form of a stiff, adhesive-backed material. When applied to damp skin, the strip adheres to the surface. Once the strip dries, it's peeled away, taking with it the surface dirt and oil, as well as the substances clogging your pores.
How Pore Strips Work
The science behind pore strips is quite straightforward. They work on the principle of adhesion. Once applied to the skin, the material of the pore strip forms a bond with the dirt, oil, and blackheads on your skin.
The strip's adhesive properties are enhanced by the drying process, which causes it to shrink and tighten on the skin. This process allows the strip to grasp onto the substances clogging your pores and pull them out when the strip is removed. Thus, you're left with cleaner, clearer pores and a reduced appearance of blackheads.
Homemade vs Store Bought Pore Strips
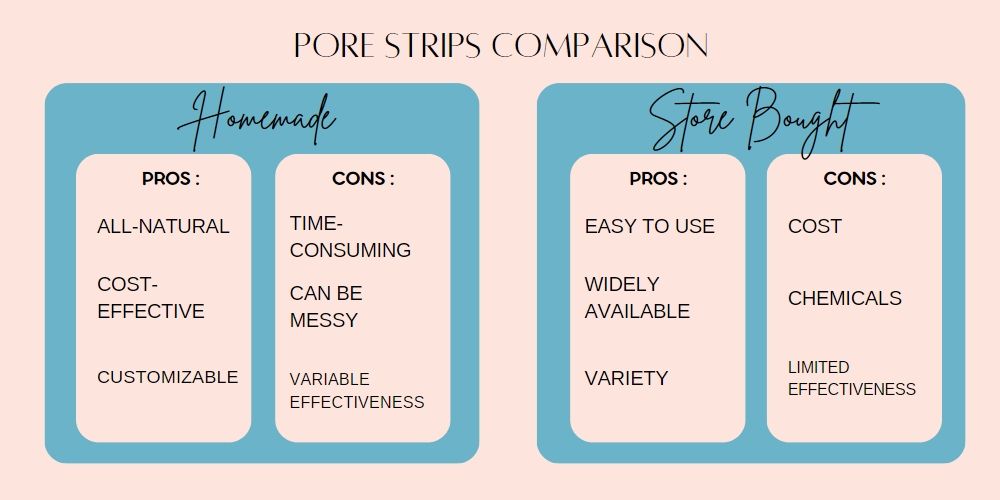
While store-bought pore strips are convenient and versatile, they can be costly over time and may contain irritants, especially for those with sensitive skin. Although they provide some surface cleaning, they might not offer a deep cleanse.
Homemade pore strips, conversely, are a natural and affordable alternative. You can customize them to your skin type and control what ingredients you're using. However, they require effort to make, can be messy, and their effectiveness depends on your recipe.
In essence, both options commercial pore strips and homemade have advantages and disadvantages, and your choice depends on personal preference, lifestyle, and skin type. Pore strips should be used as part of a holistic skincare routine.
DIY Pore Strip Recipes
Now that we've explored what pore strips are and how they function, it's time for the exciting part - creating your own DIY pore strips at home! With a few common household ingredients and a little bit of time, you can make affordable, effective, and all-natural pore strips. Ready to dive in? Let's explore these DIY pore strip recipes together!
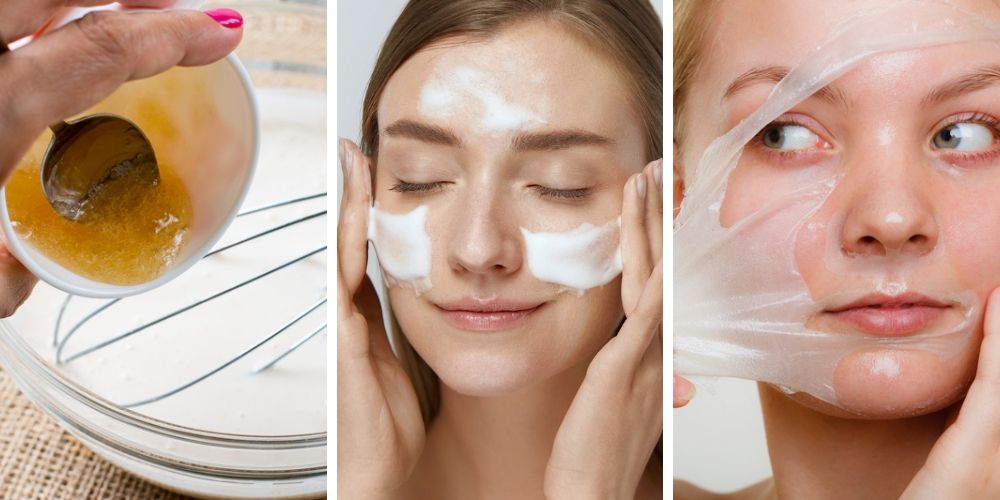
⬇️4. DIY Pore Strip with Gelatin and Milk
Ingredients:
- 1 tablespoon unflavored gelatin
- 1.5 tablespoons milk
Instruction:
- Mix the unflavored gelatin and milk in a bowl to form a paste.
- Microwave the mixture for 10-15 seconds until it becomes warm (not hot).
- Apply the warm mixture onto your nose or any other area with clogged pores.
- Leave it on for 15-20 minutes or until it dries completely.
- Peel it off gently and rinse your face with warm water.
💡Pro Tip: Make sure the mixture is warm and not hot to prevent skin burns. The mixture should be thick enough to stick onto your skin but not too thick that it becomes difficult to apply.
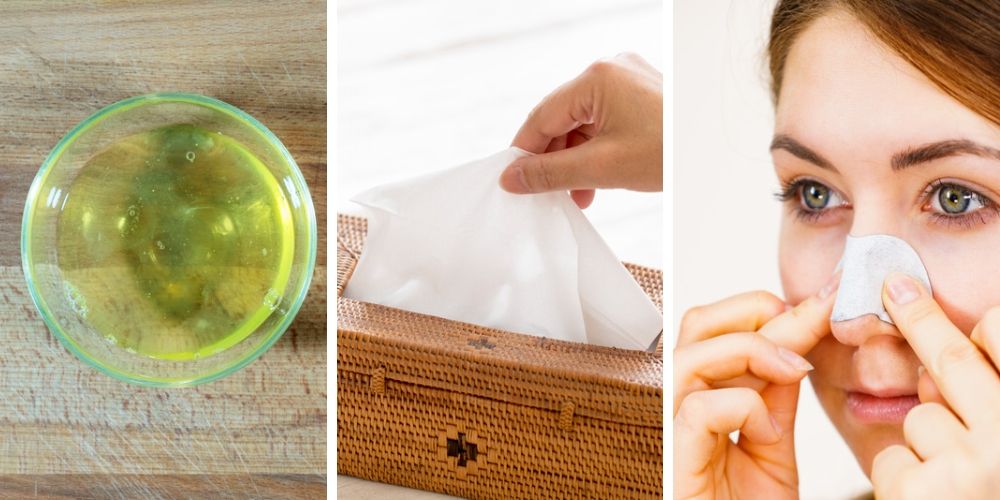
⬇️3. Egg White Pore Strip
Ingredients:
- 1 egg white
- 1 paper towel or tissue
Instruction:
- Separate the egg white from the yolk.
- Apply a thin layer of egg white on the area with clogged pores.
- Place a paper towel or tissue over the applied egg white.
- Apply another layer of egg white over the paper towel or tissue.
- Leave it on until it dries completely and becomes stiff.
- Peel off the strip carefully and rinse your face with warm water.
💡Pro Tip: Be gentle while peeling off the strip to prevent skin irritation. Using a paper towel or tissue helps the egg white adhere better to the skin.
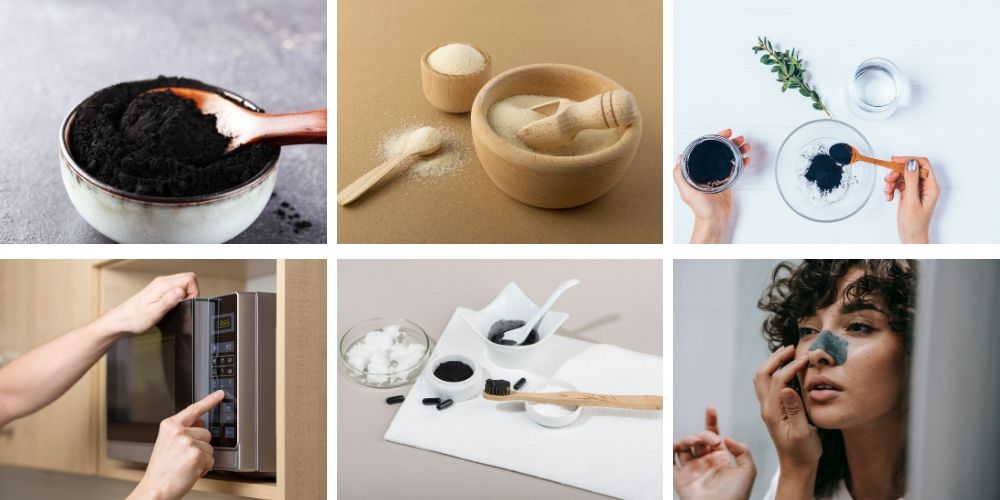
⬇️2. Charcoal Pore Strip
Ingredients:
- 1 tablespoon activated charcoal powder
- 1 tablespoon unflavored gelatin
- 2 tablespoons water
Instruction:
- Mix the activated charcoal powder, gelatin, and water in a bowl.
- Microwave the mixture for 10-15 seconds until it becomes warm (not hot).
- Apply the warm mixture onto your nose or any other area with clogged pores.
- Leave it on for 15-20 minutes or until it dries completely.
- Peel it off gently and rinse your face with warm water.
💡Pro Tip: Activated charcoal is known for its deep cleansing properties. Ensure the mixture is warm, not hot before application.
⬇️1. Honey and Turmeric Pore Strip
Ingredients:
- 1 tablespoon raw honey
- 1 teaspoon turmeric powder

Instruction:
- Mix the raw honey and turmeric powder in a bowl.
- Apply the mixture onto your nose or any other area with clogged pores.
- Leave it on for 15-20 minutes.
- Rinse it off with warm water.
💡Pro Tip: This homemade pore strip will not dry like the others. Honey is a natural humectant that moisturizes the skin, and turmeric has anti-inflammatory properties that can reduce redness and inflammation.
Please Note: Everyone's skin is unique, and these recipes may not suit everyone. Always do a patch test first to ensure the ingredients do not irritate your skin.
Embark on a journey to radiant skin with our enriching DIY Beauty Series featuring Homemade Makeup Removers, Face Mists, Makeup Setting Sprays, Face Toners, Face Oils, and Hydrating Face Masks. Explore these guides and discover beauty secrets you can whip up right in your kitchen!
Post Pore Strip Care
So you've done the deed, wrestled with the strip and won, but that was just half the battle. Now it's time for the aftercare party. Let's break it down into easy, actionable steps.
1. Rinse 'n Shine
Once that strip comes off, it may leave behind a souvenir or two. Now's the time to clean up the aftermath. Go for a mild face wash that knows how to treat your skin with kindness. If some remnants are playing hide-and-seek, grab a soft washcloth and gently exfoliate. But remember, we’re going for a gentle breeze, not a sandstorm.
2. Shut the Door on Pores
After a pore strip session, your pores are wide open and ready to party, but that's an invitation to unwanted guests. Cool your skin down with a splash of cold water or dab on a toner to play the bouncer and shut those pore doors tight.
3. Calm Down, Skin
With the strip gone, your skin might have a mini-meltdown. A touch of aloe vera gel or a calming serum will tell your skin, "Hey, the drama's over, let's chill."
4. Let's Get Moist
Your skin may be feeling a bit parched post-strip. Time to bring in the big guns – moisturizer. Find the one that gets your skin vibe. Light and oil-free if you're on the oily side, rich and nourishing if you're on the dry end of the spectrum. The perfect time to moisturize? Right after cleaning and toning, while your skin is still fresh and damp, ready to lock in all that good hydration.
5. Bring on the Sunscreen
If you're a daytime pore-strip warrior, remember to gear up with sunscreen after your session. Your skin is now a bit more sun-sensitive and needs the extra defense. Make sure it's got an SPF of 30 or more and offers broad-spectrum protection.
Your skin speaks a language, so listen up and tailor your skincare to its needs. Remember, it's a marathon, not a sprint. Regular care is the golden ticket to healthier, happier skin. It’s time to turn this aftercare party into a lifestyle. Let's get glowing!
Transform your lip care routine with our DIY Beauty Series packed with Homemade Lip Tint Recipes and Luscious Lip Mask Recipes. Dive into these tutorials and learn how to create natural and nourishing lip products at home!
DIY Pore Strips FAQ
How to make pore strips?
Creating your own pore strips is quite straightforward and you can make them with common household items. Check out our recipes section in this blog for some easy-to-follow guides on making your own pore strips.
How to use pore strips?
Timing and preparation are crucial when using pore strips. It's best to use them after a warm shower or bath when your pores are opened up by the steam. This will make the pore strip more effective. In terms of your skincare routine, use a pore strip after you've cleansed your face, but before you tone, moisturize, and apply sunscreen.
How often should you use pore strips?
Pore strips should not be overused as this can lead to skin irritation and potential damage to your skin's protective barrier. Generally, using a pore strip once a week is sufficient for most people. However, this can vary based on your skin type and condition. It's always recommended to consult with a dermatologist or skincare specialist for personalized advice.
When to use pore strips in skin care routine?
Pore strips should ideally be used after cleansing your skin and before the application of toner, moisturizer, or sunscreen. It's beneficial to use them after a warm shower or bath, as the heat helps to open up your pores, making the pore strip more effective. Always remember to follow up with a good moisturizer to rehydrate your skin.
Are pore strips bad for your skin?
Pore strips, when used properly and sparingly, should not be harmful to your skin. However, if they are used too frequently, or if you have sensitive or fragile skin, they can potentially cause irritation or damage. Always follow the instructions and listen to your skin – if it feels irritated, give it a break.
What to use instead of pore strips?
If pore strips aren't your thing, there are other ways to clean your pores. Regularly using a mild exfoliant can help remove dead skin cells and unclog pores. Clay masks are also effective as they absorb excess oil and pull impurities out of the skin. Lastly, maintaining a consistent skincare routine with a gentle cleanser, toner, and moisturizer can help keep your pores clean in the long run.
What happens if you leave a pore strip on overnight?
Leaving a pore strip on overnight isn't recommended. Pore strips are designed to be used for a specific amount of time (usually 10-20 minutes). Leaving them on for too long can lead to skin irritation and could potentially damage your skin.
Should you moisturize after using pore strips?
Yes, you should always moisturize after using a pore strip. Pore strips can leave your skin feeling dry, so applying a moisturizer afterward is important to rehydrate and nourish your skin. The best time to moisturize is right after you've cleansed and toned your skin, while it's still damp. This helps to lock in the moisture and keeps your skin hydrated.
Immerse yourself in the world of homemade body care with our DIY Beauty Series. Delve into Homemade Body Wash Recipes and Homemade Coffee Scrub Recipes, and discover the satisfaction of crafting your own body care essentials!
Final Thoughts
And there you have it, a complete guide to DIY pore strips. From egg whites to baking soda, nature has provided us with an array of ingredients that can help us maintain clear and healthy skin. The beauty of DIY is that you can tailor it to your needs. If you have oily skin, for example, you might find egg white pore strips to be the best fit for you. For others, gelatin pore strips could work wonders.
Don't get us wrong, traditional pore strips and their store-bought cousins have their place in skincare. But if you've ever wondered, "Do DIY pore strips work?", now you have the answer, and the power, right at your fingertips.
The secret is in the application. Patience is key - remember to apply a very thin layer, let it dry completely, and then gently peel off. The result? A smoother, clearer complexion that's easy on your wallet and free from unwanted chemicals.
Whether you're a fan of egg white pore strips or prefer the gelatin variant, the DIY route offers a flexible, cost-effective, and fun way to tackle skincare. Give it a try and you might just be pleasantly surprised by the results.
Happy DIY-ing!
Other Posts You May Like
If you're not quite ready to delve into DIY pore strips, don't worry! We have plenty of other resources that can guide you in your skin care journey. Check out our other posts about Best Pore Cleansers for product recommendations and a Guide on How to Get Rid of Pores on the Face for a comprehensive approach to clearer skin. No matter your preference, we're here to help you achieve your skincare goals!


